You won’t believe it if we say that you can make apple cider vinegar at home just as good as the ones you purchase from the store. Well, let us prove it in this episode as we will teach you how to make apple cider vinegar with a few easy steps.
You might be thinking that it is a complicated process. But, if you follow all our steps just the way they are, you will feel how smooth it goes and your results will be incredibly fruitful! So, let’s get right into making homemade ACV!
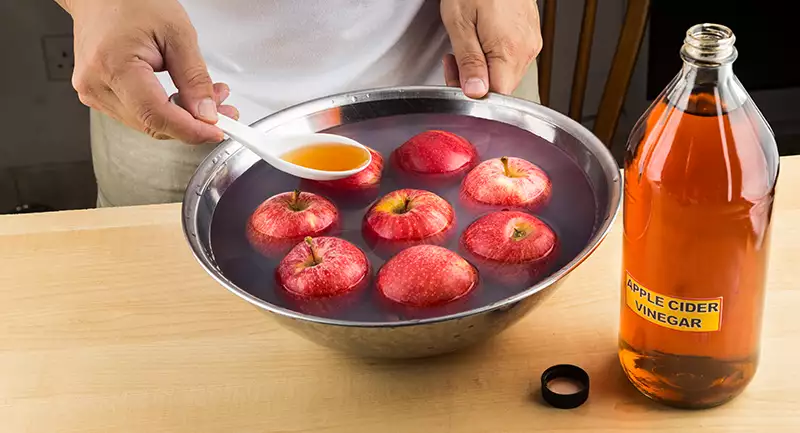
How To Make Apple Cider Vinegar At Home? Step By Step Guide.
Putting ripened apple chunks together in a jar with sugar and water can make the magic happen right on your countertop! You will never run back to store-bought apple cider vinegar since this will turn out really good.
Just make sure you track all the steps very carefully, as one single mistake could ruin your entire batch of apple cider vinegar. So, here’s how you’d make it…
Preparation time- 15 minutes | Total time- Approximately 30 days (depends on the time you take until bottling)
Step 01
Grab the ingredients and get ready with the equipment.
Ingredients needed:
- Six to eight apples (preferably organic)
- Six to eight teaspoons of sugar (a teaspoon for each apple)
- Enough water to cover the apples (filtered, mineral water)
Required equipment:
- A large mason jar with a wide opening
- A muslin cloth/ cheesecloth/ coffee filter
- Wooden spoon
- A fermentation weight
Step 02
Wash the apples well in cold water. Quarter them and remove the pits. Then, cut them into cubes and put them into the mason jar.
Step 03
Pour filtered mineral water until all the apple pieces are completely covered. And, add six to eight teaspoons of sugar. This ratio should be a 1:1 (one teaspoon for one apple)
Step 04
Stir in the apple, sugar, and water mixture using a clean wooden spoon. Now, cover the mouth of the mason jar with a piece of muslin or cheesecloth. A coffee filter also works. (This covering should be breathable)
Step 05
To keep all the pieces of apples submerged, you can weigh the mixture down with a fermentation weight. Make sure to tighten the covering with a rubber band.
Step 06
Keep the jar in a dark place in your pantry. This jar should be undisturbed in order to make the fermentation process successful.
Step 07
Open the covering and stir the mixture each day about once or twice using a clean wooden spoon (this step will encourage proper fermentation and prevent mold formation). Make sure to close the cover each time you mix it.You can see the bubbles appear after about one to two weeks. Keep stirring at least once a day for two to three days.
Step 08
Soon, you will see no more bubbles, and the apple chunks settled down in the bottom of the jar (this will take around three to four weeks). By this time, you will know that the fermentation process has stopped. If the “mother” has formed on top, you can remove it if you want.
Step 09
After removing the “mother”, you can strain the liquid and discard the apple chunks. Put the strained liquid back into the jar, cover it with a coffee filter or a cheesecloth, and let it sit. Do not forget to do a taste check every week.
Step 10
Strain the liquid and bottle it once your apple cider vinegar has reached the desired flavor. You can keep your homemade apple cider vinegar in your pantry or in the refrigerator. Cooling it will essentially stop the fermentation.
Tasty Notes…
- Make sure you clean every piece of equipment and scrub-wash the apples well before starting to make this.
- You can even use the scraps and pits of apples.
- Try to use an assortment of apples for a better flavor. If you need us to guide you with it, click here and refer to this article on our step-by-step guide to making apple cider. Here we have mentioned the most flavorful types of apples.
- We do not recommend using anything made out of metal during this process since metal can probably react with acidity.
- Ensure your vinegar mixture remains undisturbed from direct sunlight, humidity, or water throughout the process.
- Do not eat the pieces of apples once you strain the liquid. Just compost or discard them, as they will likely be unpalatable.
- You will not go wrong anywhere if you follow these steps correctly. But for some bad reason, if you see black, grayish, or greenish scum forming on top of your mixture, discard the whole thing and start off with a new batch.


